Contacts Overview
The Contacts section helps you to manage your Contacts information and perform a variety of tasks, such as sending out communications and adding people to groups and products.
Note: The Contacts section will only show users that have purchased an item through your shop, or have been manually added to your organisation.
For more information on types of contacts and how to manually add them to your system, you can view our 'How do I add a contact' help guide.
Note: Users added manually that already have a JoinIn account will need to accept an invitation before appearing in your Contacts.
Note: The LoveAdmin interface will be known as Joinin to people outside of your organisation.
Video Guide: Setting up your Contacts page
Account owners Vs beneficiaries: How to identify your contacts
In LoveAdmin, a beneficiary refers to any contact associated with an 'account owner.' This is most commonly seen in parent-child relationships, where the parent is the account owner and the child is the beneficiary. However, if an individual over the age of 16 manages their own account, they will appear in LoveAdmin as both the 'beneficiary' and 'account owner' of their JoinIn.
An account owner has the ability to connect multiple contacts, referred to as beneficiaries, to their JoinIn account. E.g. a parent who is a JoinIn user can link all of their children to their account.
Only account owners can log into JoinIn. Account owners can update their personal information and share this information with your organisation.
Each account owner and beneficiary will have their own individual contact records that can be accessed through the LoveAdmin system.
You can identify who is the account owner and who is the beneficiary, by checking the name shown in the 'Account owner' column.
In the example below, Tim and Theo Duddley are both beneficiaries of the account owner, Sarah Duddley.

Contact record
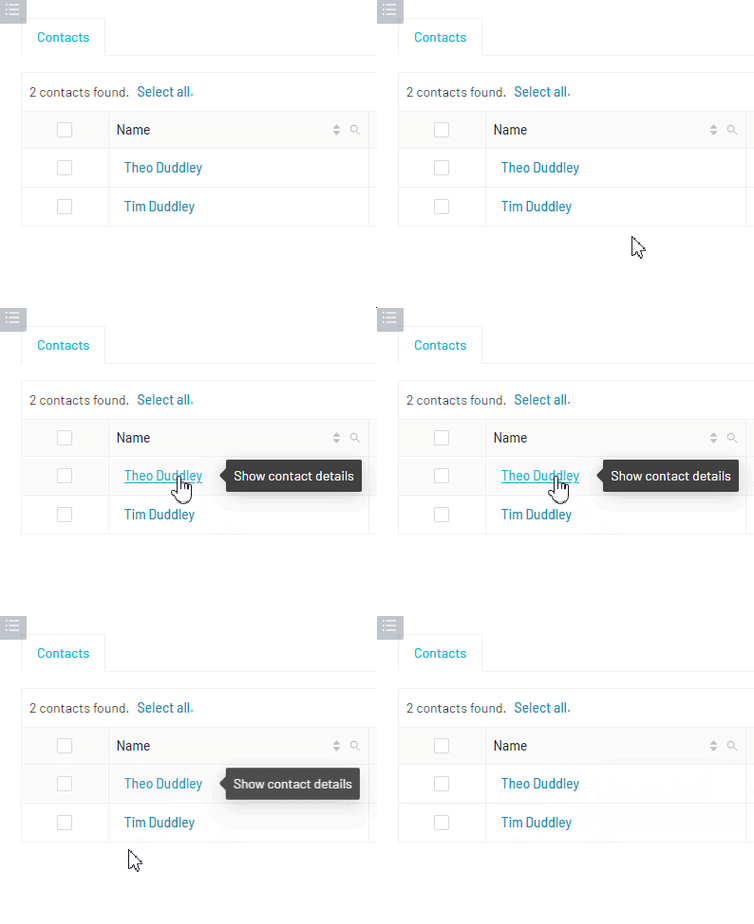
To view a full contact record click directly on the contact name.

For more information on navigating your contacts records, click here
Using the sidebar to filter contacts and perform actions
You can use the filter in the sidebar to help filter contacts and perform actions.
you can select specific product groups using the drop-down menu, simply use the checkboxes beside each product group to filter the contacts list.
The sidebar is dynamic and will allow you to perform actions once contacts have been selected - use the checkbox beside each contact to make a selection.
Once a contact has been selected, you will see Message, Add to, Invite to and Manage drop-down menus appear in the sidebar.

Customising the Contacts view
The default view when you enter Contacts displays contacts' Names, Personal email, Owner email, Addresses, Town, Country, Roles and Account owners.
This can be customised to include other data recorded about the individual by clicking on 'Manage columns' in the top right.

#contacts #list #crm #members #current #active #contacts #page #view #display #customise #tailor #columns #specific #data #lists #interface #filter #sort #information #overview #records #dashboard #configuration #overview #summary #crm
