Creating and editing a discount
- To add a discount, navigate to Home > Settings > Organisation > Discounts
- Click on the Add discount strategy to create and add a suitable description, such as sibling discount, or multi-buy discount, and click on the save icon

- Description
- This is visible to purchasers
- Volume Discounts affect all purchased items - A volume discount for siblings will give all siblings involved the same discount
- Progressive Discounts affect just the specified item(s) - A progressive discount for siblings will give just the specified siblings a discount
- Action - Action icons allow you to save or delete your discount strategies
The range is the section where you can determine what triggers the discount, when, how much it discounts and whom it applies to. Click the + icon next to the discount name and click "Add range":
- Create the discount per the settings required
- Click 'Save' when done
- The members only checkbox will work in conjunction with this product setting:

We'd advise reaching out to the support desk at help@loveadmin.com if you have any questions about how to set up a Members only discount.
Applying Your Discounts to Products
Steps:
- Navigate to Settings > Products > open the product Discounts settings
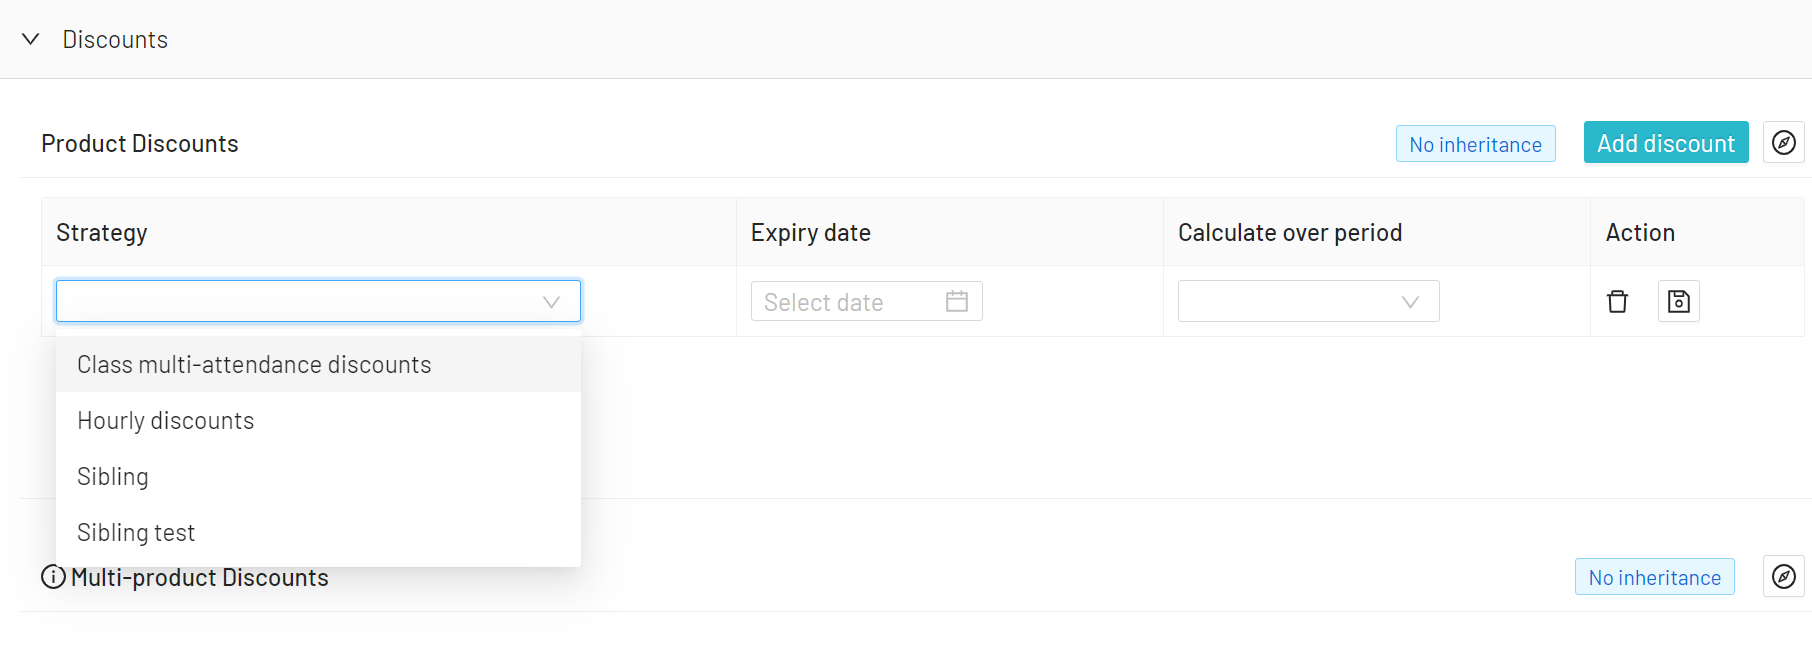
- Select 'Add discount' or 'Multi-Product discount'
- Select which discount strategy you wish to apply to the product
- Expiry Date - when this discount will end
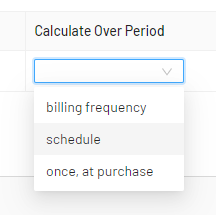
- Calculate Over Period
- Billing frequency - the discount will be applied each and every time there an invoice is issued
- Schedule - The discount is applied each time a schedule renews
- For example, if you are billing monthly for a class that runs on a three-month schedule, the discount will be applied to each month's billing
- Once, at purchase - The discount will only apply when the product is first purchased
- Select Save under actions
Applying Your Discounts to specific Contact Groups
- Navigate to Settings > Groups
- Select the Contact Group you wish to apply the discount to
- Click on the Discount tab from the right menu
- Click on the sliders to apply the discount to the group
- Click 'Save'
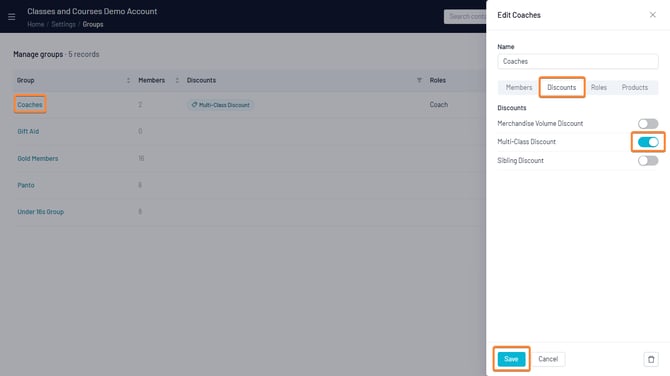
Caution: When applying a discount to a Group, this will apply the discount selected to all purchases made by contacts within the group. It cannot be specified to apply the Group discount selected to only certain products.
Note: If you're setting up discounts for the first time, we recommend contacting our support team at help@loveadmin.com