By adding addresses into your address book you can distinguish activity between the different sites. This is particularly useful if you have multiple addresses, so you can assign classes and events to the appropriate schedules, and price these accordingly.
Adding addresses
Steps:
- Navigate to Home > Settings > Organisation > Address Book
- Click on the 'Add Address' button in the top-right to add the address details
- Complete all fields in the pop-up window. The 'Address Name' is a name that best describes your location.
- Click Save
- Repeat as many times as required until you have added all of your different address locations.
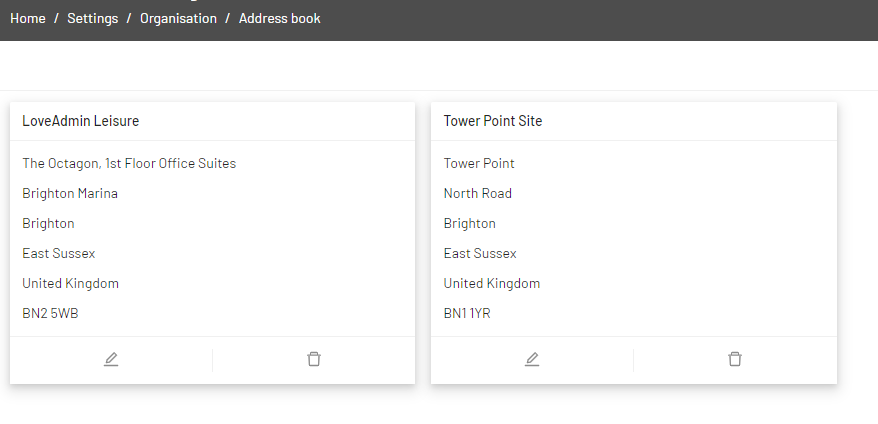
Editing or Deleting addresses
Selecting the pencil icon allows the admin to edit the address.
Selecting the bin icon allows the admin to delete the address.
Edits or deletions will take place immediately and will update all schedules they are attached to.
Adding addresses to schedules
We recommend that you create schedules for each of your different sites with the address or location marked, even if the schedules run on the same day and time.
Adding an address to a schedule will display the address in the shop when your users purchase or register for a product.
Steps
- Navigate to Settings > Schedules
- If creating a new schedule, click "Add schedule". If adding to an existing schedule, find the schedule you'd like to add and click the "edit schedule" icon:

- Under "Where" - Choose the address that your schedule applies to. These addresses will need to have been adding beforehand as above.
Note: Alternatively, you can enter the name of the Location in the "Location at address" field in place of a full address.