Once a contact accepts a club invitation, registers with your organisation, or makes a payment for one of your products, they will automatically be added to your contact list. If you ever need to remove a contact record, you can easily do so by following the instructions below.
Important: When marking an account inactive you are not deleting the user or denying access to their JoinIn account; this process only removes permissions that share the person's data with your organisation so you are no longer able access it.
The user can still login to JoinIn and manage their account and their financial and personal information.
Video Guide
Steps
From the contacts page
- Navigate to Home > Contacts
- Select the contact(s) from the list
- Open the Manage menu from the left side-bar and choose 'Mark inactive'

From the contact record:
- Click into the contacts record
- The quickest way to do this is via the main search bar at the top-right of your account

- The quickest way to do this is via the main search bar at the top-right of your account
- Select the 'Actions' button at the top-left
- Choose 'Mark Inactive'

Note: Once a contact has been marked as inactive, please also note the following:
- The contact will be removed from any future calendar events
- The contact will be removed from products and groups
- The contact will be removed from waiting lists
- The contacts permissions will be removed
- The contacts invoices will still remain on your system, including any that are unsettled
All financial records by the user will remain in the financials records and reports, even after a contact is removed.
Important: To ensure that any scheduled orders are suspended when you mark a user as inactive, it is recommended that you cancel any scheduled orders the contact may have, before marking them as inactive.
For more information on cancelling scheduled orders, please click here
How do I 'ban' users when marking them as inactive?
You may also wish to prevent the contact(s) from making future purchases through your shop.
To do this, simply select the 'Ban users from making any future purchases' option, when following the process above to mark the contact(s) as inactive.
Note: you also have the option to extend the ban to all connected contacts. This means that if you choose to ban certain users, all of their connected contacts will also be marked as inactive and banned.
Note: Banned users will be presented with the following message when attempting to checkout via your shop: 'You are unable to purchase this item. Please contact the organisation to resolve.'
Where can I find the contacts I have marked as inactive?
As soon as you mark a contact as inactive, they are automatically moved into your 'Inactive users' group. To access this group, you can follow these steps:
- Navigate to the Home > Contacts
- Select Groups from the left-hand side dropdown
- Select the 'inactive users' group

How to reactivate an inactive user:
By using the 'Mark active' feature:
- Navigate to the Home > Contacts
- Switch from products to groups in the left-side menu
- Select the 'inactive users' group
- Select the contact(s) from the list
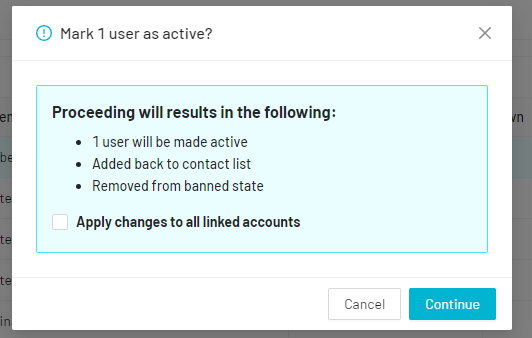
- Open the 'Manage' menu from the left side-bar and choose to 'mark active'
- Select whether or not you would like to mark all linked accounts
By resending the member an invite to your organisation:
- Navigate to Home > Contacts
- Switch from products to groups in the left-side menu
- Select the 'inactive users' group
- Select the contact(s) from the list
- Open the 'invite to' menu from the left side-bar and choose 'Invite to organisation'
- Once the invite has been accepted they will then show as an active contact again

#remove #removing #contact #user #leave #leaving #inactive #purge #deactivate #leavers #mark #clear #non #contacts #crm