Video Guide
Cancelling a Session from within the Timetable
To cancel a session, simply follow the steps below. This will not have any impact on the other sessions within the schedule. Attendees will receive an email notification about the cancellation and you will also be presented with the option to either refund or credit the attendees.
Steps
- Navigate to Timetable/Fixtures & Calendar
- Find the Session you need to cancel
- Note, this session must be in the future
- Click on the Session you wish to cancel
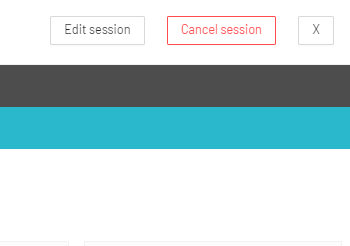
- On the window that opens up, click "Cancel Session" from the top-right
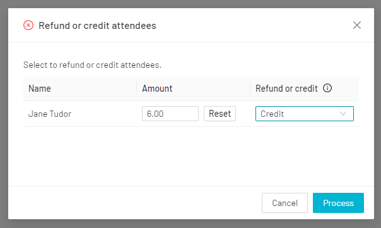
- Select whether you wish to refund or credit the session fee to the attendees:

- Select whether you wish to notify the attendees or just cancel the session

- Confirm the amount and whether you wish to apply this as account credit, or as a direct refund to the attendee(s)
Note: Only completed payments made through a payment provider that supports refunds, will be eligible to refund. For more information on this please click here
Note: If you do not wish to credit or refund the members the session fee, simply select the 'Don't credit or refund the attendees' and continue.
Tip: To find out more about how your customers can use their credit balance, view our full guide here
Reinstating a Session
If you cancel a Session and want to reinstate it:
- Navigate to Settings > Schedules > Calendar View
- Find the Session you need to reinstate. It will be highlighted in red
- Note, this entry must be in the future
- Click on the Session
- Click "Reinstate Session"
Note: this will not reinstate or contact any prior attendees, or raise any invoices.