How do I invite people to products?
Once you have created a product you may wish to invite people to join or purchase them. This article will cover the different ways to invite contacts to products
Video Guide
Inviting to products
An example of when you may wish to invite a person to join/purchase a product is when you are running a special event and want to notify your existing contacts, or if you are inviting your members to sign up for a new class.
Inviting a person to a product will send an email invitation, with an option to accept or decline. Contacts will be sent directly to the product in your shop with the option to purchase and choose any available dates or prices.
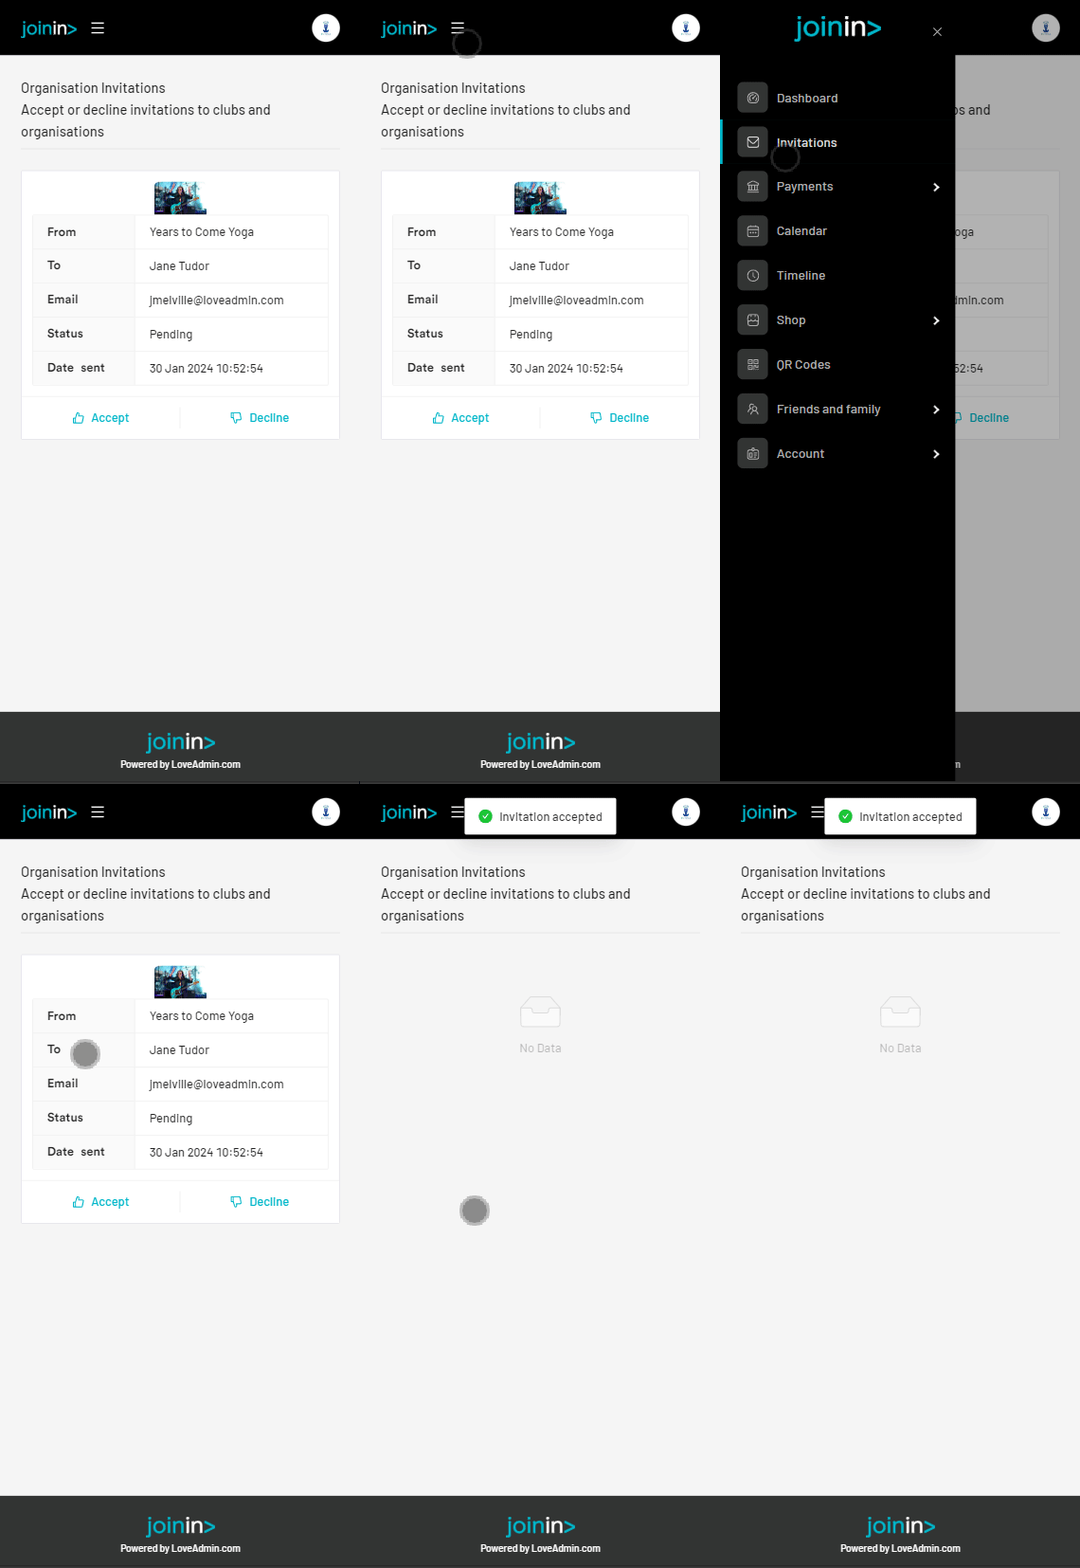
To access all of their product invitations, individuals can simply sign into their online account at https://app.joinin.online and go to the Invitations section in the left-hand menu.

Steps
From the contact record (best option if you are inviting an individual contact)
- Click into the contacts record
- The quickest way to do this is via the main search bar at the top-right of your account

- The quickest way to do this is via the main search bar at the top-right of your account
- Select the 'Actions' button at the top-left
- Choose 'Invite to' > 'Product'
- Fill out the required fields and submit
From Contacts section (best option if you are inviting a group of contacts
- Navigate to Home > Contacts
- Select the contacts you wish to invite
- On the left sidebar, click expand the 'invite to' tab then choose 'Product'
- Select the relevant Product, Price and Schedule
- Select "Submit"

From Timetable section (best option if you are inviting a specific class)
- Navigate to Home > Timetable/Calendar & Fixtures
- Choose the relevant session
- From the Manage view, select the contacts you wish to invite
- Select the 'Actions' button and then "Invite to product"
- Select the relevant options
- Select "Submit"
Tip: In some cases, you may want to add contacts to a product and manually raise their invoices for them. For full information on adding to products and the options available, visit the full article here.
#invite #product #purchase #book #ask #booking #promote #renewal #suggested #recommended #suggest #recommend #link #shop #buy
